> ## Documentation Index
> Fetch the complete documentation index at: https://trigger-v3-fix-additional-files.mintlify.site/llms.txt
> Use this file to discover all available pages before exploring further.
# Deploy with Supabase
> Self-host [Trigger.dev](https://trigger.dev) with Supabase and Docker
## Requirements
* [docker](https://docs.docker.com/engine/install/)
* time
## Set up your project
1. Create a project dir and grab the latest `.env` template
```sh
mkdir trigger-docker && cd trigger-docker
curl -L https://github.com/triggerdotdev/docker/raw/main/.env.example > .env
```
2. Generate secrets with `openssl rand -hex 16` for the following variables:
Do NOT just copy and paste this. Generate your own secrets instead!
```sh .env (excerpt)
...
MAGIC_LINK_SECRET=15600f1236e568d6c9c400a94e16a4ed
SESSION_SECRET=8d92078940c89588fc8b6f5481f2c6e0
ENCRYPTION_KEY=1189c93e399856a2a9a1454496171b2e
...
```
3. Set `NODE_ENV` to production:
```sh .env (excerpt)
...
NODE_ENV=production
...
```
## Create a Supabase DB
Alternative: [Self-host Supabase](https://supabase.com/docs/guides/self-hosting/docker)
1. No account yet? [Click here](https://supabase.com/dashboard/sign-up) to complete onboarding
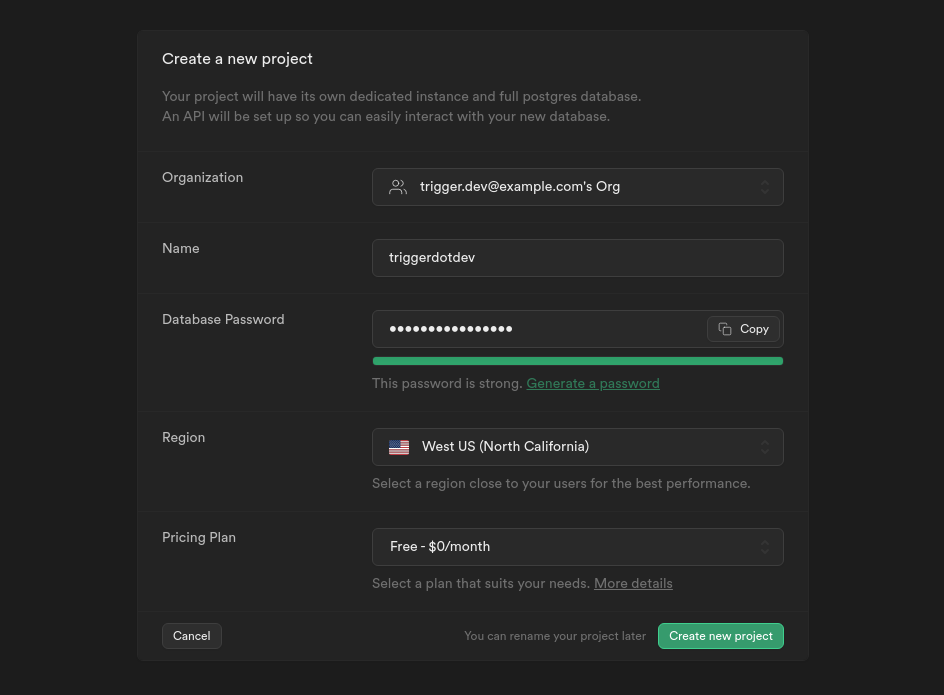
2. [Create a new project](https://supabase.com/dashboard/projects)
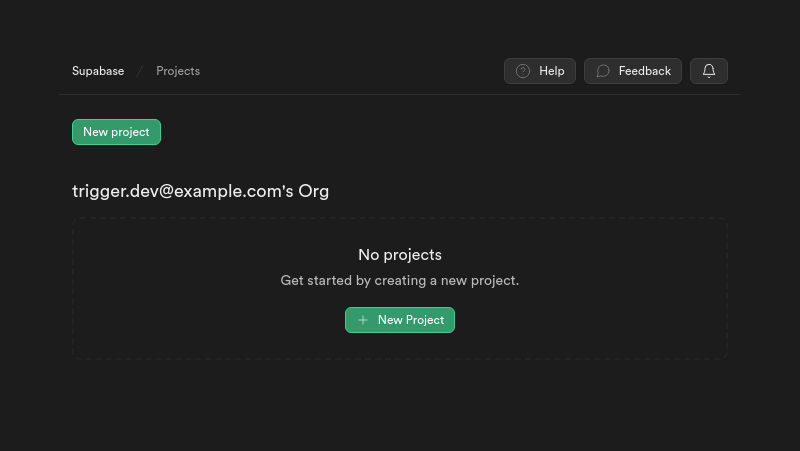 3. Make a note of your password, we'll need it in a moment
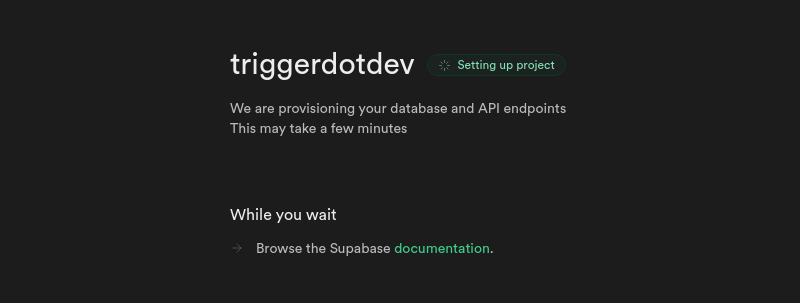
 4. Wait until your project has finished setting up
 5. Navigate to `Project Settings -> Database` and copy your database connection string
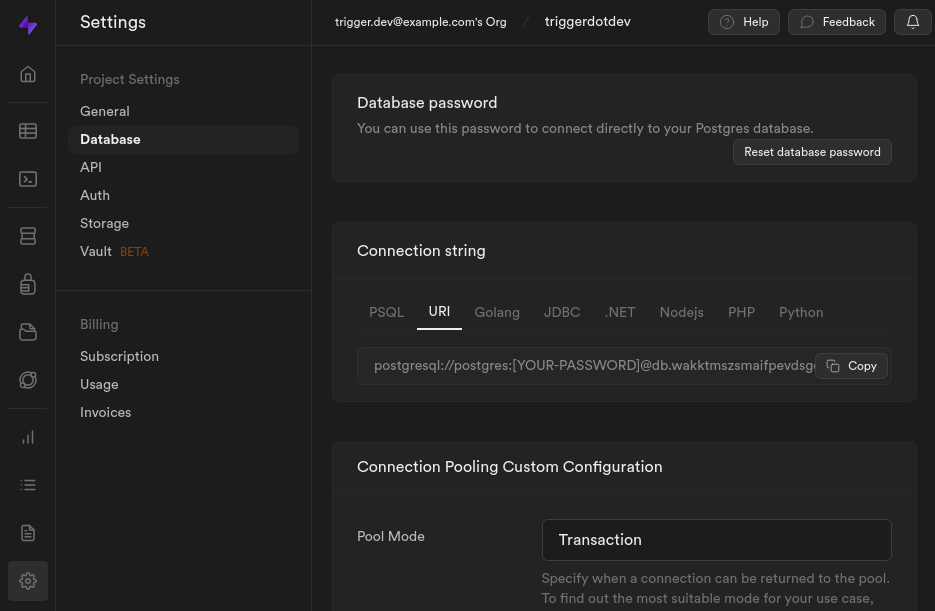 6. Paste it into your `.env` file, and append `?schema=triggerdotdev`
Don't forget to replace `` with the project password you set in Step 3.
```sh .env (excerpt)
...
DATABASE_URL=postgresql://postgres:@db..supabase.co:5432/postgres?schema=triggerdotdev
...
```
7. The complete file should look something like this now:
```sh .env
LOGIN_ORIGIN=http://localhost:3030
APP_ORIGIN=http://localhost:3030
PORT=3030
REMIX_APP_PORT=3030
MAGIC_LINK_SECRET=15600f1236e568d6c9c400a94e16a4ed
SESSION_SECRET=8d92078940c89588fc8b6f5481f2c6e0
ENCRYPTION_KEY=1189c93e399856a2a9a1454496171b2e
DATABASE_URL=postgresql://postgres:@db..supabase.co:5432/postgres?schema=triggerdotdev
DIRECT_URL=${DATABASE_URL}
NODE_ENV=production
RUNTIME_PLATFORM=docker-compose
```
## Self-host Trigger.dev with docker compose
1. Create a docker compose file in your project dir
```yaml docker-compose.yml
---
version: "3.8"
services:
triggerdotdev:
image: ghcr.io/triggerdotdev/trigger.dev:latest
container_name: triggerdotdev
restart: unless-stopped
env_file:
- .env
ports:
- 3030:3030
```
2. Start your docker container
```sh
docker compose up
```
3. Wait for the database setup to finish - this might take a while
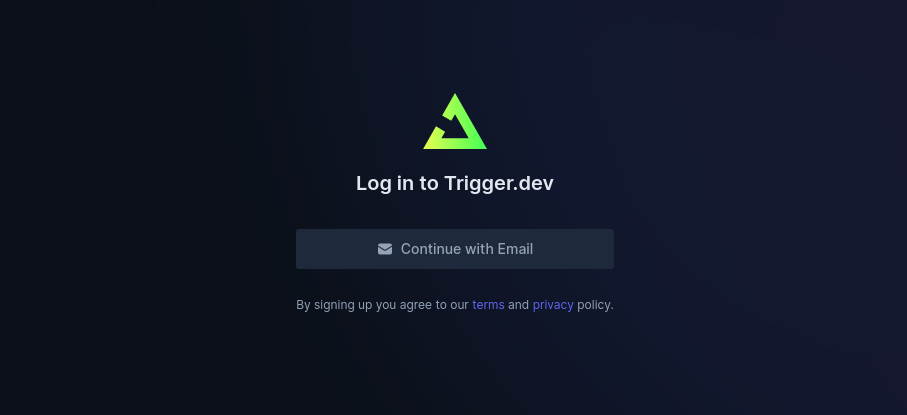
4. You should now be able to visit [http://localhost:3030](http://localhost:3030) and see this screen:
6. Paste it into your `.env` file, and append `?schema=triggerdotdev`
Don't forget to replace `` with the project password you set in Step 3.
```sh .env (excerpt)
...
DATABASE_URL=postgresql://postgres:@db..supabase.co:5432/postgres?schema=triggerdotdev
...
```
7. The complete file should look something like this now:
```sh .env
LOGIN_ORIGIN=http://localhost:3030
APP_ORIGIN=http://localhost:3030
PORT=3030
REMIX_APP_PORT=3030
MAGIC_LINK_SECRET=15600f1236e568d6c9c400a94e16a4ed
SESSION_SECRET=8d92078940c89588fc8b6f5481f2c6e0
ENCRYPTION_KEY=1189c93e399856a2a9a1454496171b2e
DATABASE_URL=postgresql://postgres:@db..supabase.co:5432/postgres?schema=triggerdotdev
DIRECT_URL=${DATABASE_URL}
NODE_ENV=production
RUNTIME_PLATFORM=docker-compose
```
## Self-host Trigger.dev with docker compose
1. Create a docker compose file in your project dir
```yaml docker-compose.yml
---
version: "3.8"
services:
triggerdotdev:
image: ghcr.io/triggerdotdev/trigger.dev:latest
container_name: triggerdotdev
restart: unless-stopped
env_file:
- .env
ports:
- 3030:3030
```
2. Start your docker container
```sh
docker compose up
```
3. Wait for the database setup to finish - this might take a while
4. You should now be able to visit [http://localhost:3030](http://localhost:3030) and see this screen:
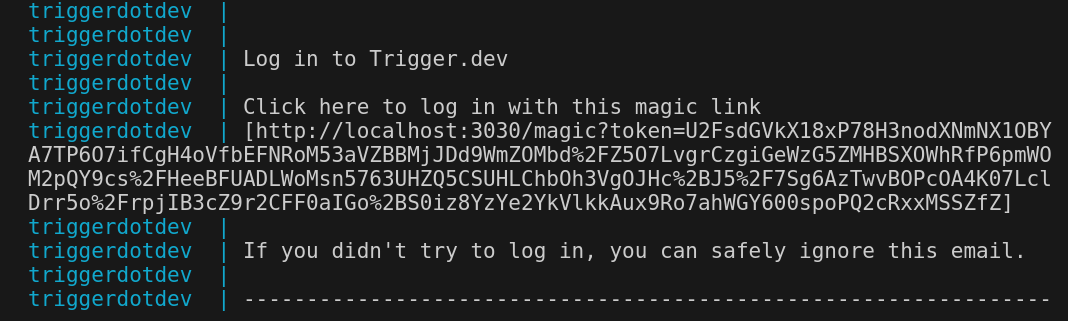
 5. Click "Continue with Email", enter your email address and hit submit
6. Grab the magic link from your terminal and proceed with account creation
5. Click "Continue with Email", enter your email address and hit submit
6. Grab the magic link from your terminal and proceed with account creation
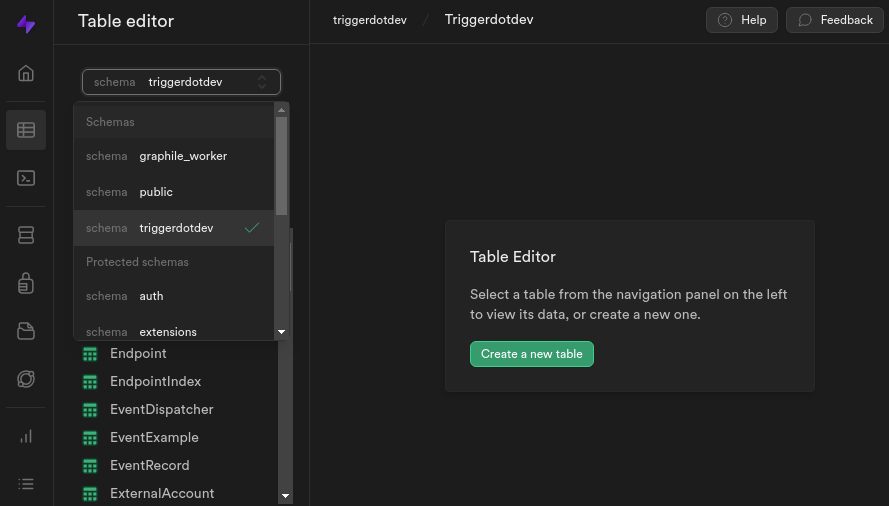
 7. If everything went well, the `triggerdotdev` and `graphile_worker` schemas should now be populated. Check your Supabase DB dashboard to be sure:
 8. Congratulations, you're all set up and ready to go with Supabase and Docker! 🚀
## Bonus: Connection pooling
### What is connection pooling?
8. Congratulations, you're all set up and ready to go with Supabase and Docker! 🚀
## Bonus: Connection pooling
### What is connection pooling?
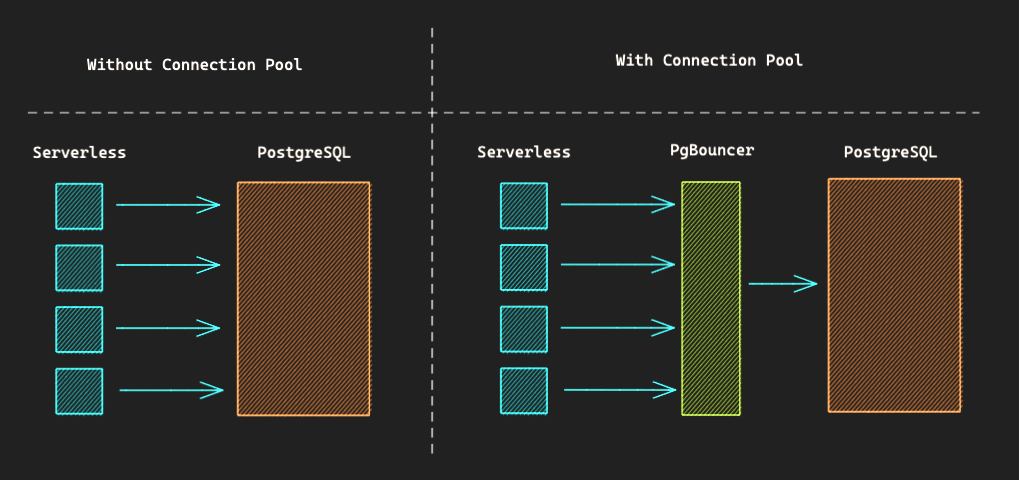 When running on a single server, our app can be trusted to manage its own connections - it knows how many are open and can process its internal queue as needed.
Serverless changes things. Here, many concurrent app instances are started, each unaware of the others' connections. This can lead to a huge - potentially fatal - increase in connections straight to your DB.
PostgreSQL has a [default connection limit](https://www.postgresql.org/docs/current/runtime-config-connection.html#:~:text=at%20server%20start.-,max_connections,-\(integer\)) of 100.
**External connection pools** solve this by putting an additional layer between client and server, which essentially works like a message queue that gets processed as limits allow. The clients are blind to this and can keep sending their requests as before.
### Enable connection pooling
1. Copy and paste the connection string from earlier to `DIRECT_URL`
```sh .env (excerpt)
...
DIRECT_URL=postgresql://postgres:@db..supabase.co:5432/postgres?schema=triggerdotdev
...
```
2. Navigate to `Project Settings -> Database` and copy your connection pool URL
When running on a single server, our app can be trusted to manage its own connections - it knows how many are open and can process its internal queue as needed.
Serverless changes things. Here, many concurrent app instances are started, each unaware of the others' connections. This can lead to a huge - potentially fatal - increase in connections straight to your DB.
PostgreSQL has a [default connection limit](https://www.postgresql.org/docs/current/runtime-config-connection.html#:~:text=at%20server%20start.-,max_connections,-\(integer\)) of 100.
**External connection pools** solve this by putting an additional layer between client and server, which essentially works like a message queue that gets processed as limits allow. The clients are blind to this and can keep sending their requests as before.
### Enable connection pooling
1. Copy and paste the connection string from earlier to `DIRECT_URL`
```sh .env (excerpt)
...
DIRECT_URL=postgresql://postgres:@db..supabase.co:5432/postgres?schema=triggerdotdev
...
```
2. Navigate to `Project Settings -> Database` and copy your connection pool URL
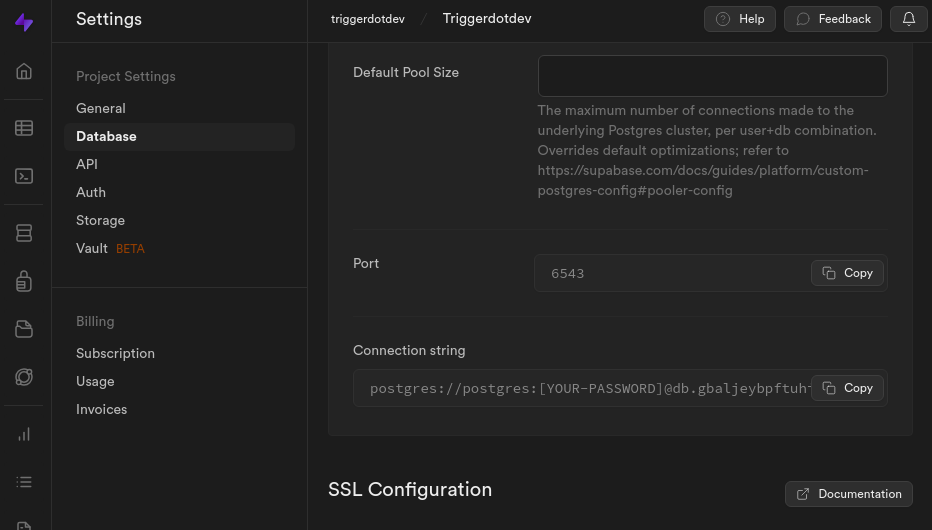 3. Paste it into your `.env` file next to `DATABASE_URL`
4. Append `?schema=triggerdotdev&pgbouncer=true` and insert your password
```sh .env (excerpt)
...
# notice the differing ports and additional query param
DATABASE_URL=postgresql://postgres:@db..supabase.co:6543/postgres?schema=triggerdotdev&pgbouncer=true
DIRECT_URL=postgresql://postgres:@db..supabase.co:5432/postgres?schema=triggerdotdev
...
```
5. All done! You can now enjoy the benefits of connection pooling ⚡️
## Next steps
Get started in 5 minutes.
Start digging with ngrok.
3. Paste it into your `.env` file next to `DATABASE_URL`
4. Append `?schema=triggerdotdev&pgbouncer=true` and insert your password
```sh .env (excerpt)
...
# notice the differing ports and additional query param
DATABASE_URL=postgresql://postgres:@db..supabase.co:6543/postgres?schema=triggerdotdev&pgbouncer=true
DIRECT_URL=postgresql://postgres:@db..supabase.co:5432/postgres?schema=triggerdotdev
...
```
5. All done! You can now enjoy the benefits of connection pooling ⚡️
## Next steps
Get started in 5 minutes.
Start digging with ngrok.