

Preparing Supabase & Next.js
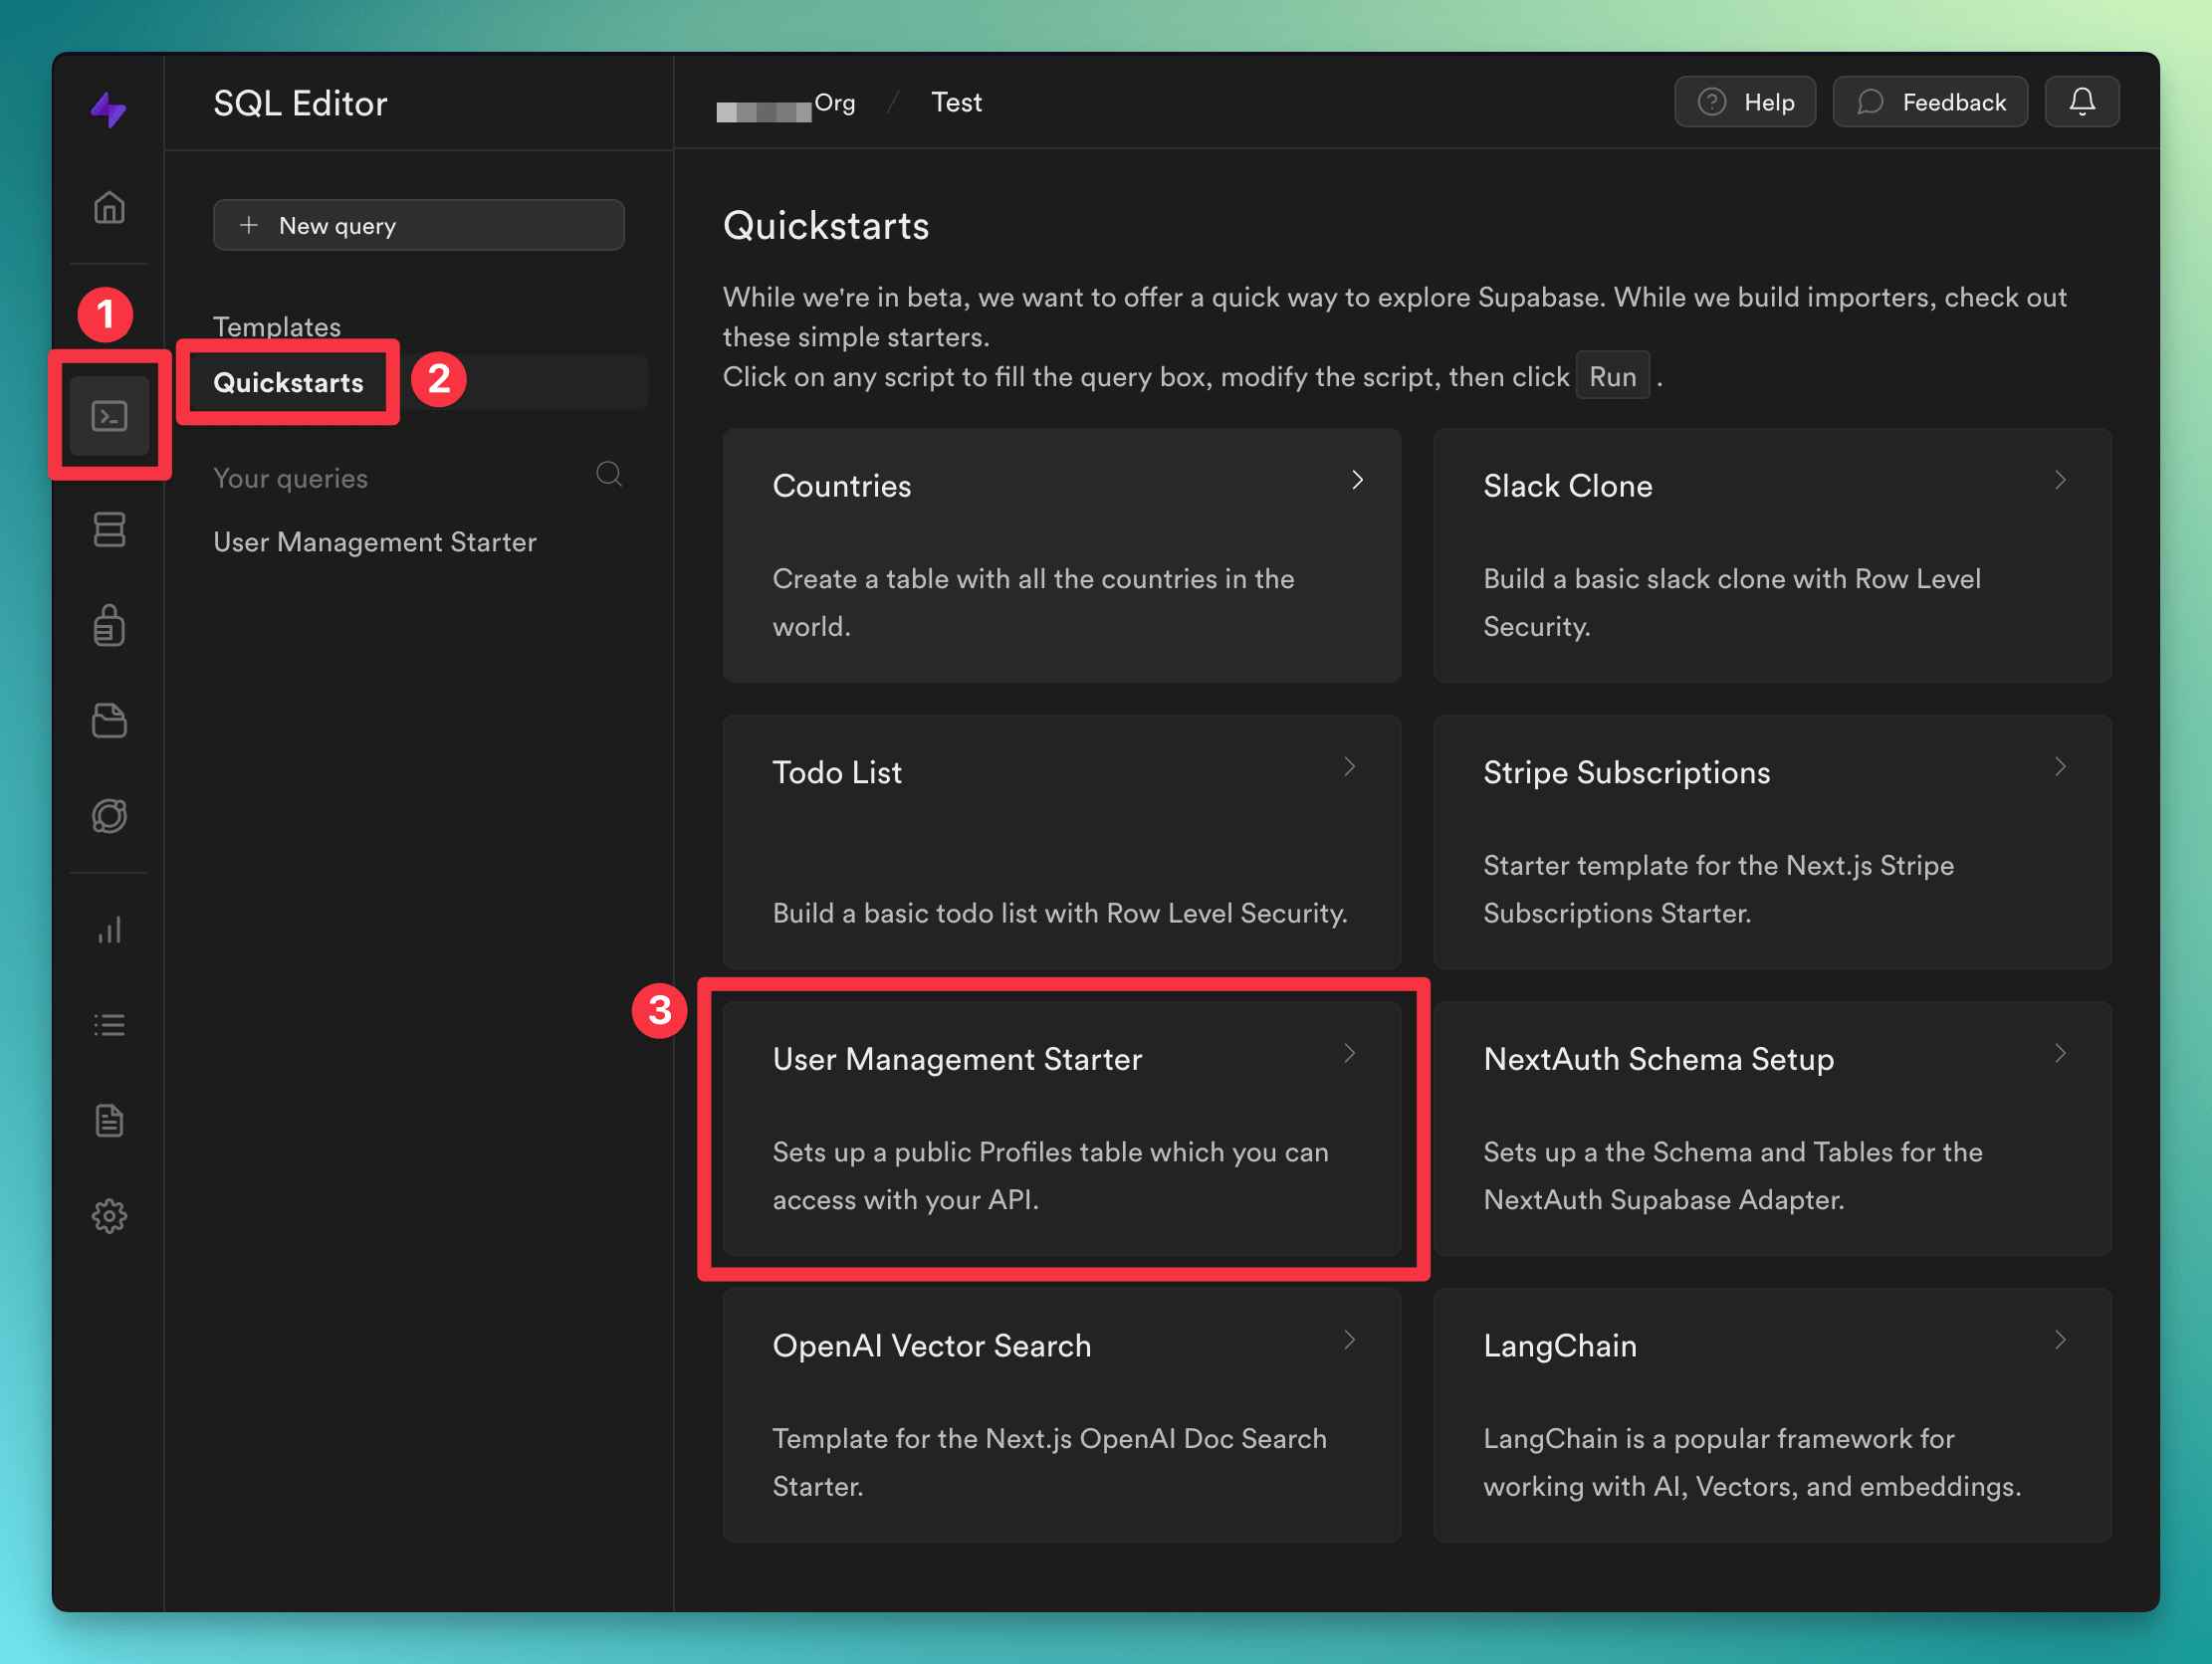
Create an account with Supabase or login if you have one already: Once on the dashboard, click the ‘New project’ button to create a new project in Supabase.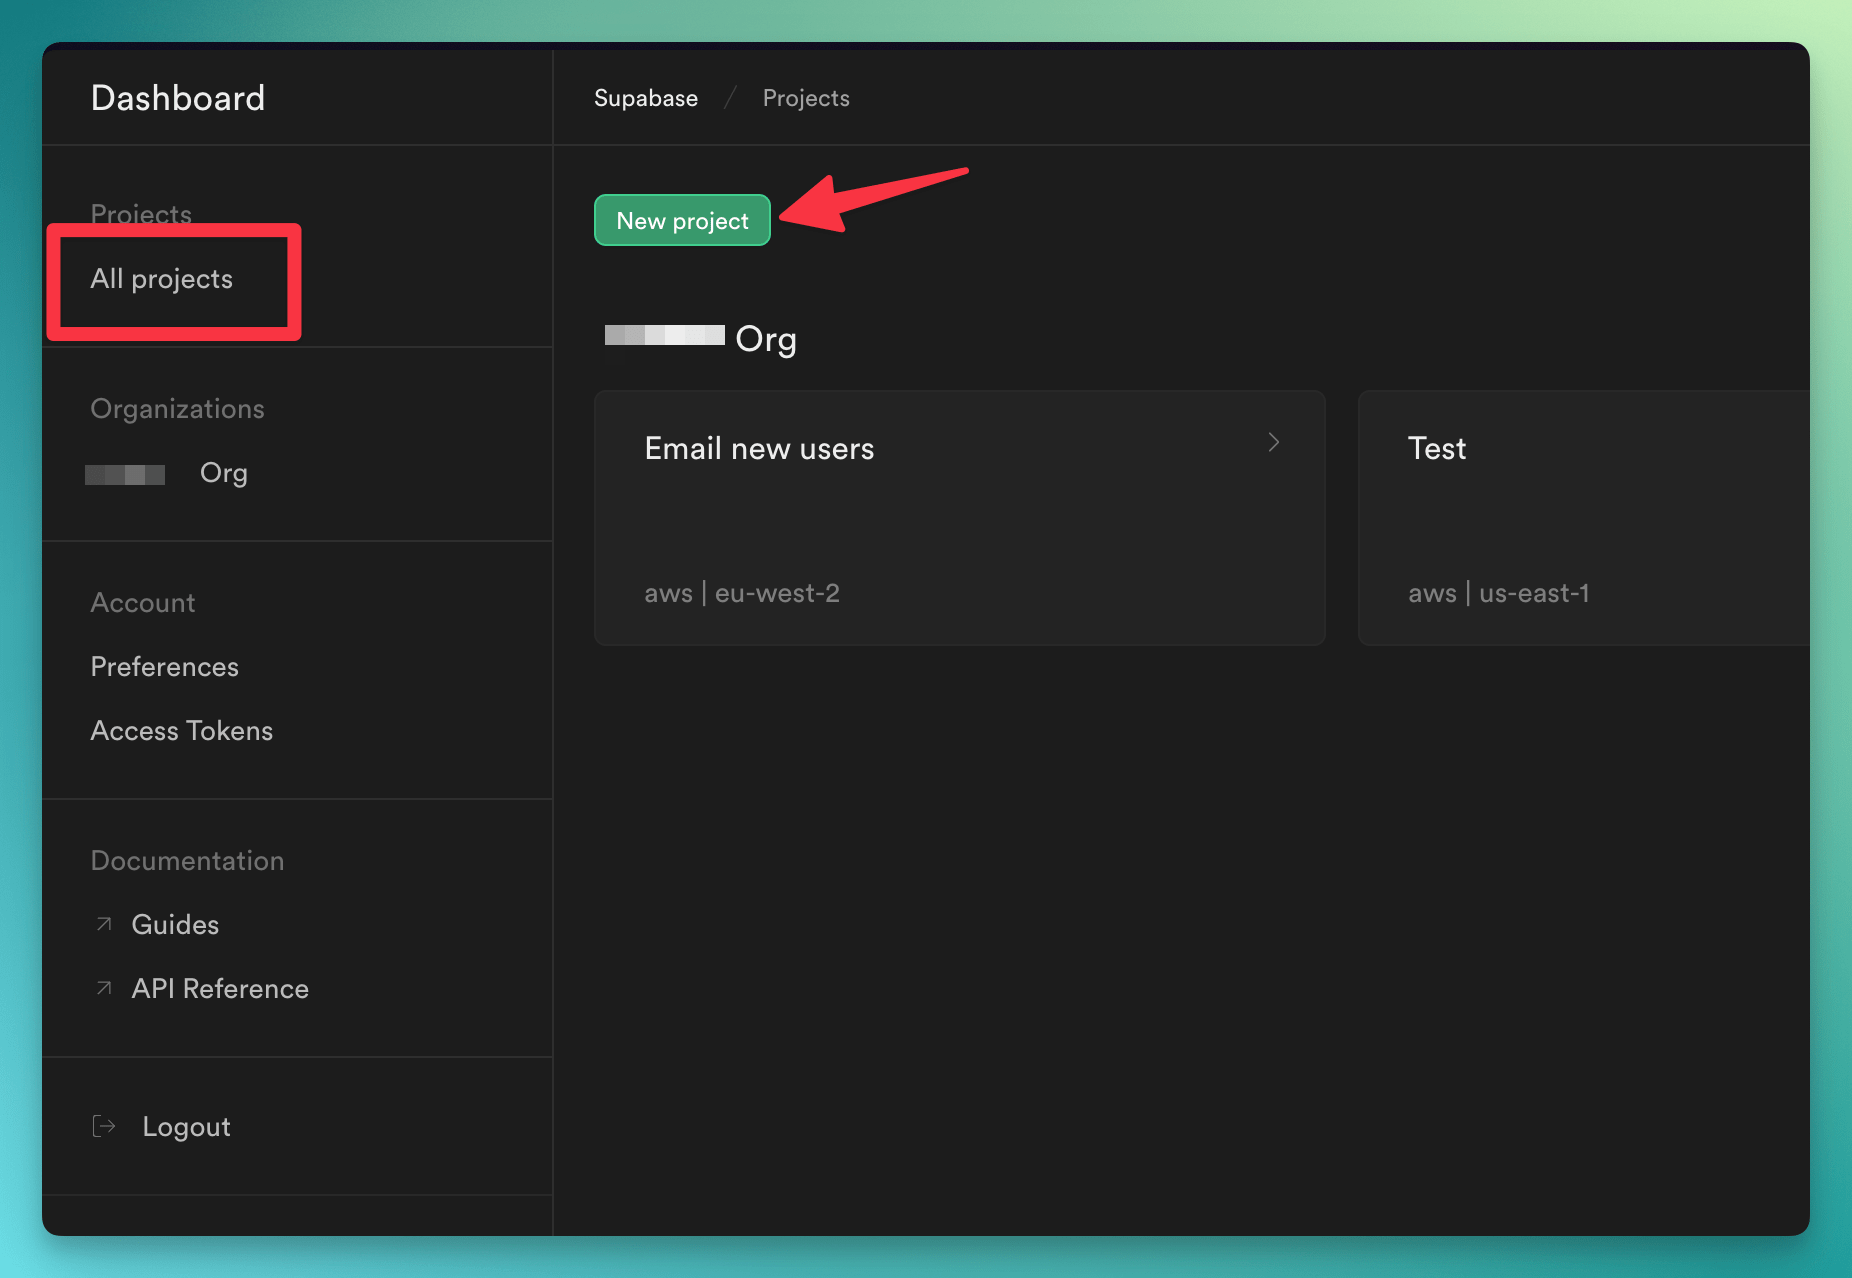 From inside your new project, click the ‘SQL Editor’ button in the side menu and then click the “User Management Starter” from the Quickstarts menu:
Feel free to choose another starter or use hand-crafted tables, anything will work for purposes of
this quick start
 Over in a terminal window, create a new Next.js app with Supabase support:
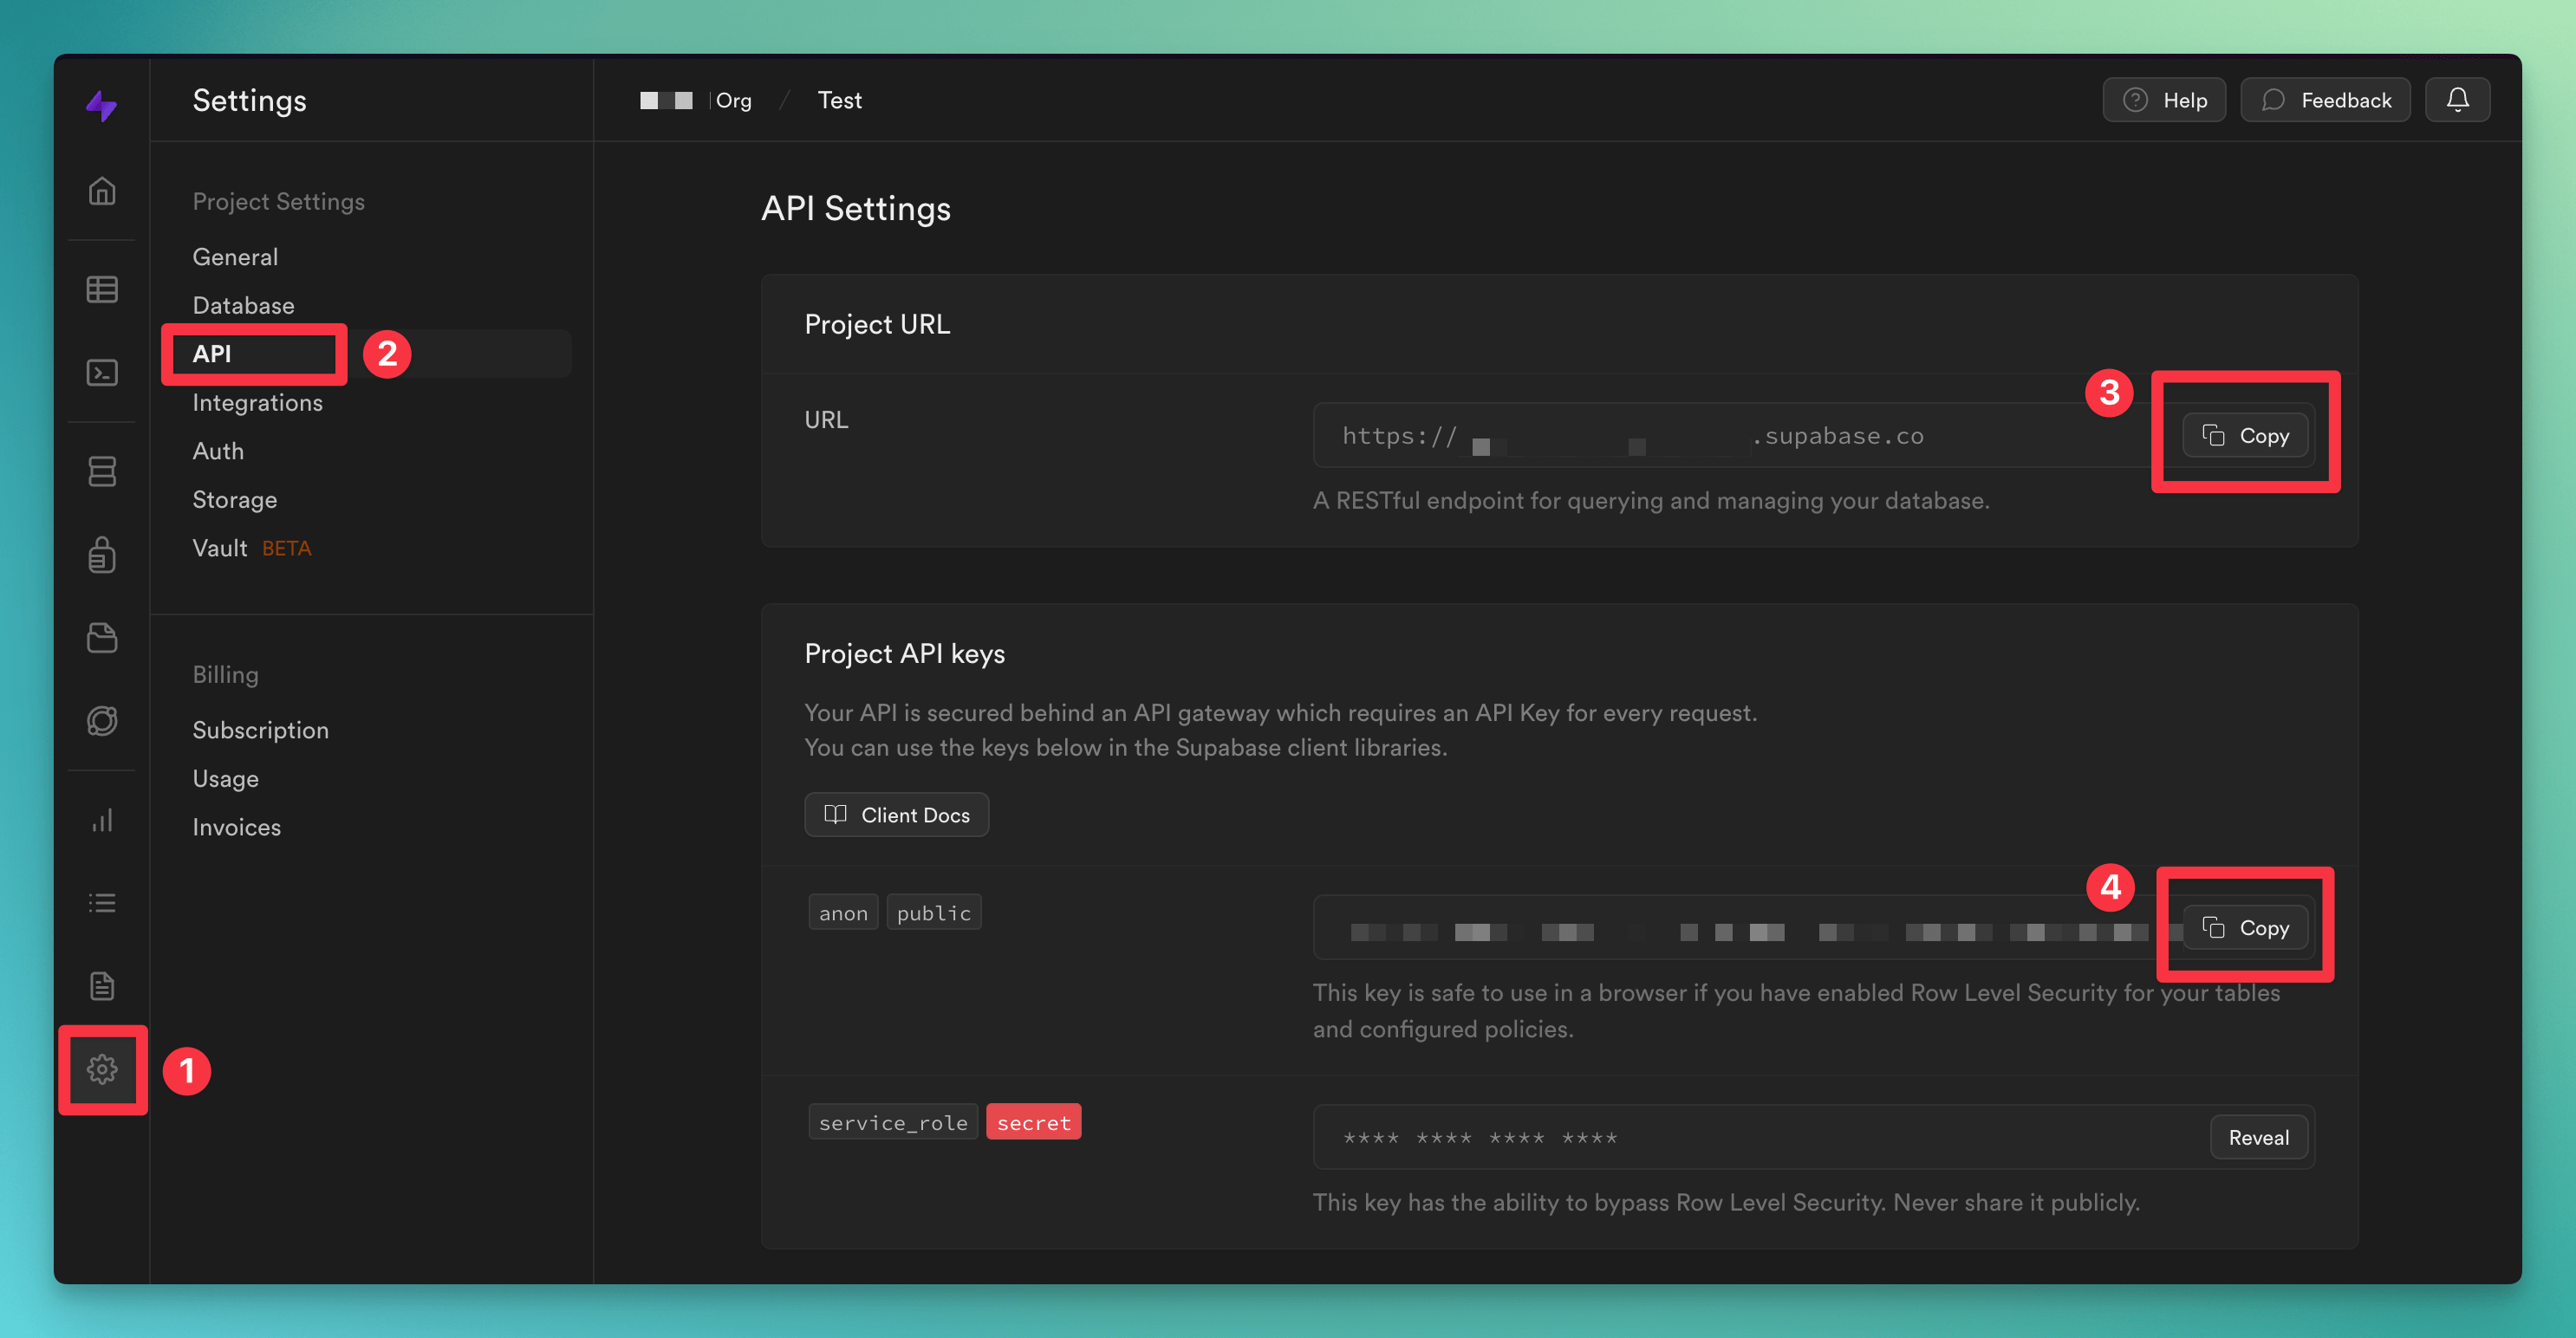
.env.local.example file to .env.local and add your Supabase URL and public key:
 Finally, in the terminal, go ahead and Generate the Typescript types now as we’ll be using them shortly:
Setup Trigger.dev
Now it’s time to create a Trigger.dev account. You can either:- Use the Trigger.dev Cloud.
- Or self-host the service.
- Complete your account details.
- Create your first Organization and Project.
middleware.ts file and add the following code to exclude the Trigger.dev endpoint from the Supabase auth middleware:
Add the Supabase Integration
Add the Supabase package to your project by running this command:jobs/examples.ts file and replace with the following code:
Authenticate to the Supabase Management API
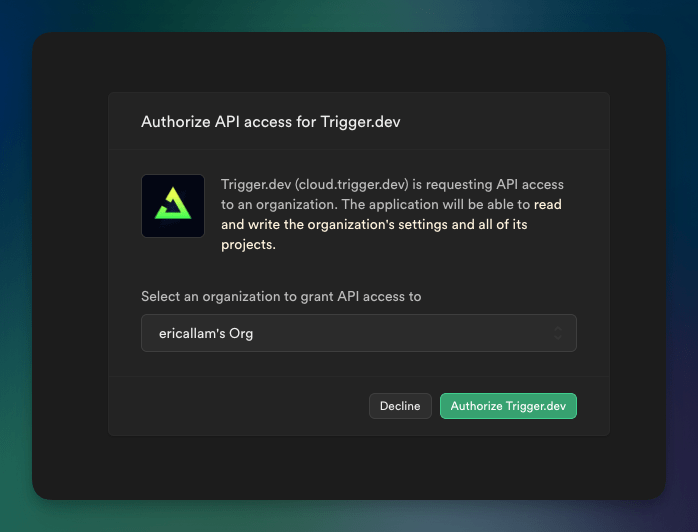
The Supabase Triggers use the Supabase Management API to register the triggers in your Supabase projects. You can authenticate using a Personal Access Token or via the new Supabase Management API OAuth implementation, which we are using in this example. Login to Trigger.dev and navigate to the project “Integrations” page. Select the “Supabase Management” integration and configure it like so: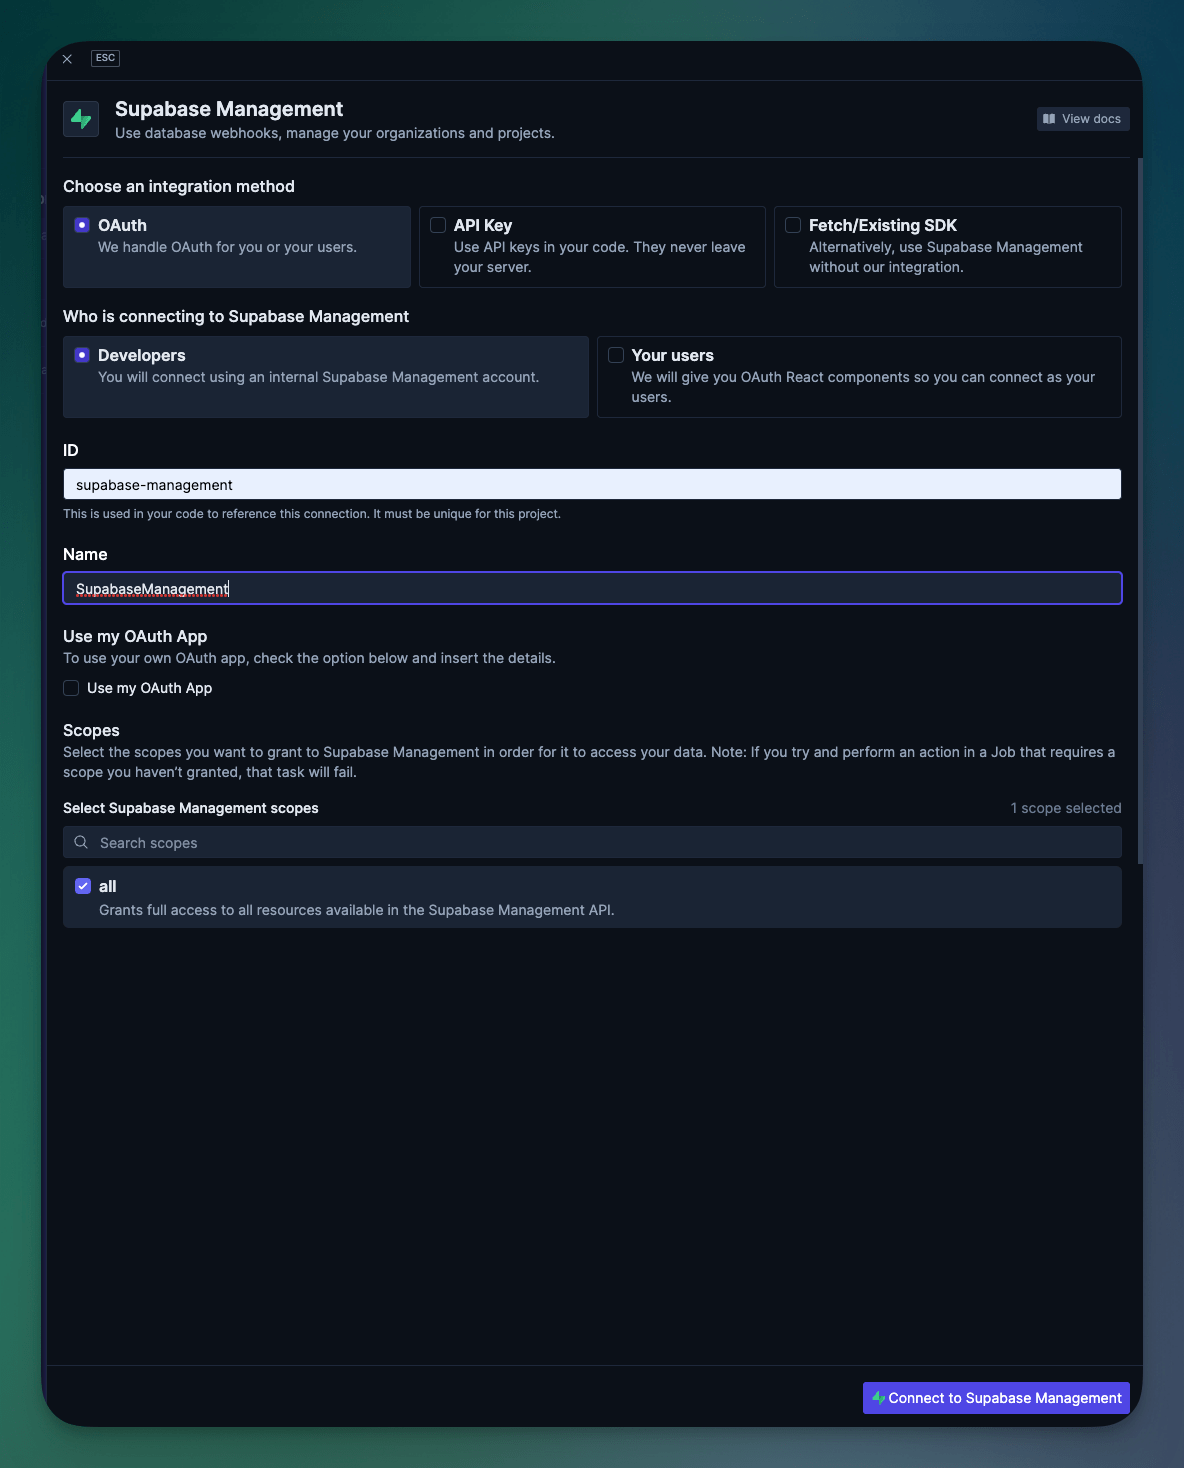 Authorize access to your Supabase project and then you’ll be ready to run the Job.
Run and test the Job
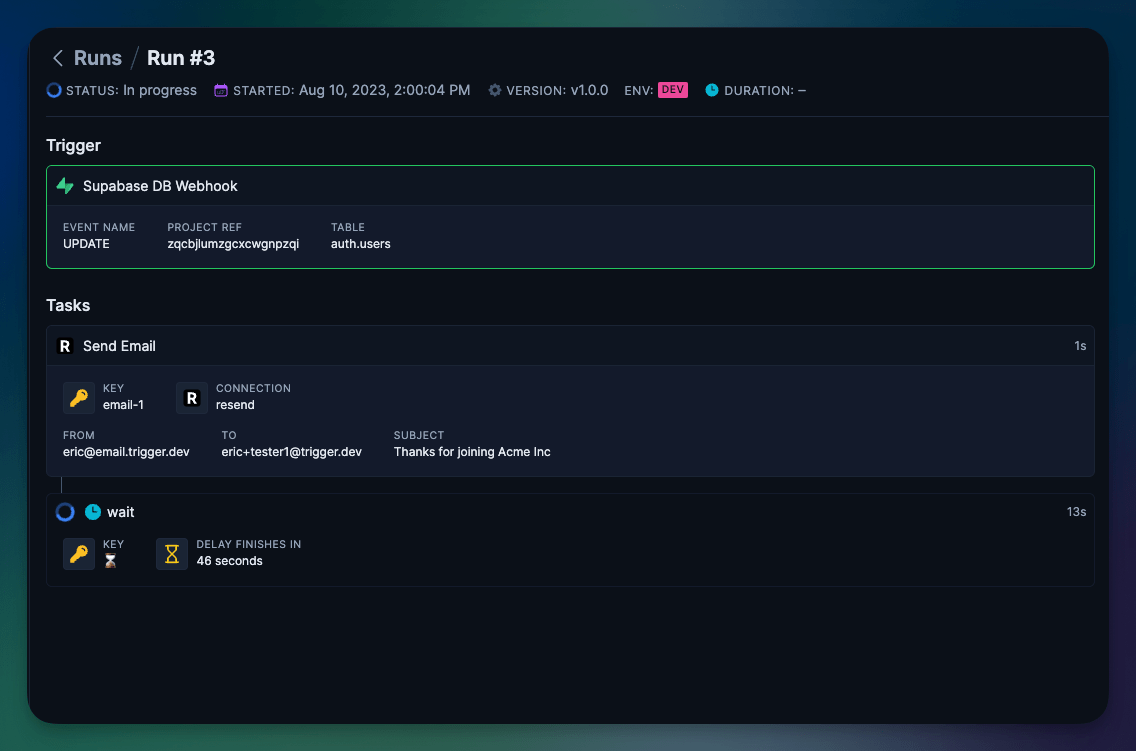
Now you are ready to run the Next.js app and test the Job. Run the following command to start the Next.js app: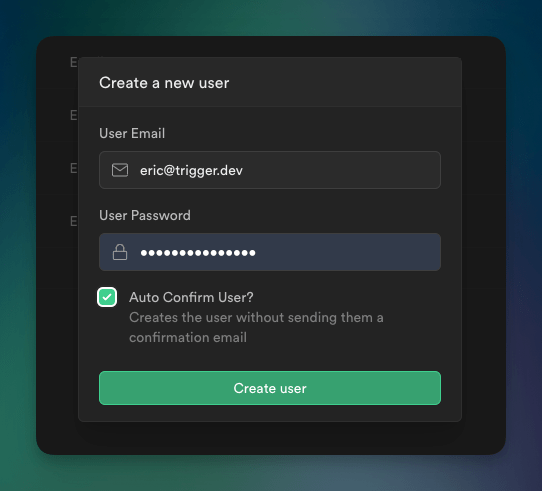 Then navigate over to your Trigger.dev project dashboard and you should see the job running.
What’s next?
Checkout our fully-functioning Supabase Onboarding Email example to learn how to build an email drip campaign in 62 lines of code.Write your first Job
A Guide for how to create your first real Job
What is Trigger.dev
Learn more about how Trigger.dev works and how it can help you.
Supabase Integration
Read more about the Supabase Integration and how it works.
Get help
Struggling getting setup or have a question? We’re here to help.