

Need to create a new Astro project to add Trigger.dev to?
Need to create a new Astro project to add Trigger.dev to?
No problem, create a blank project by running the
create-astro command in your terminal then continue with this quickstart guide as normal:Create a Trigger.dev account
You can either:
- Use the Trigger.dev Cloud.
- Or self-host the service.
Create your first project
Once you've created an account, follow the steps in the app to:
- Complete your account details.
- Create your first Organization and Project.
Getting an API key
-
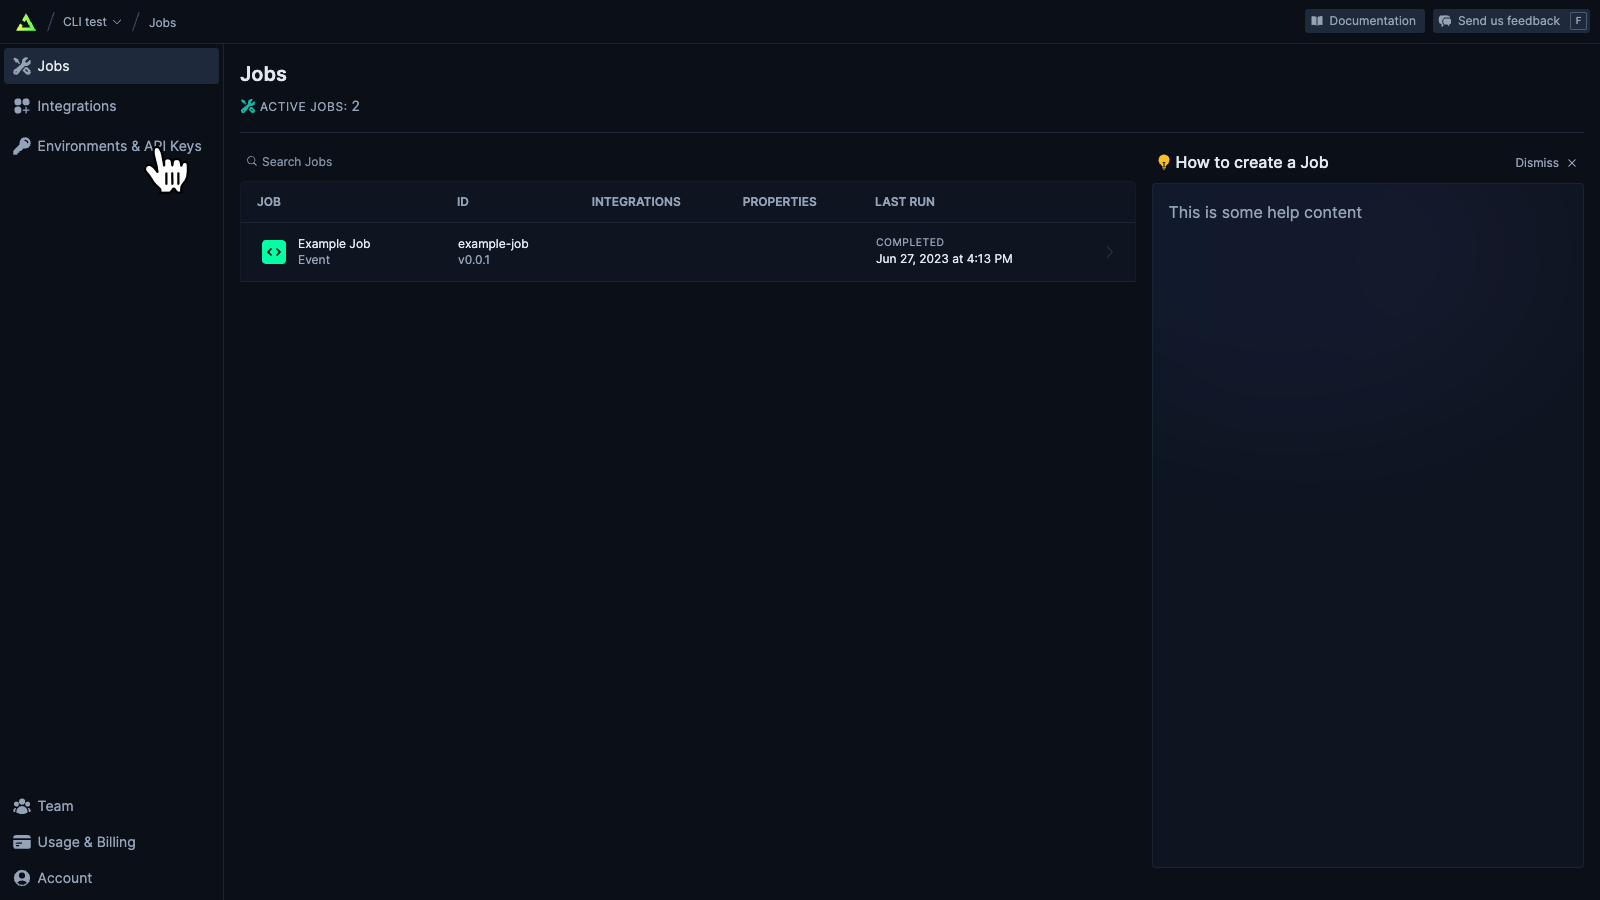
Go to the "Environments & API Keys" page in your project.
-
Copy the
DEVSERVER API key.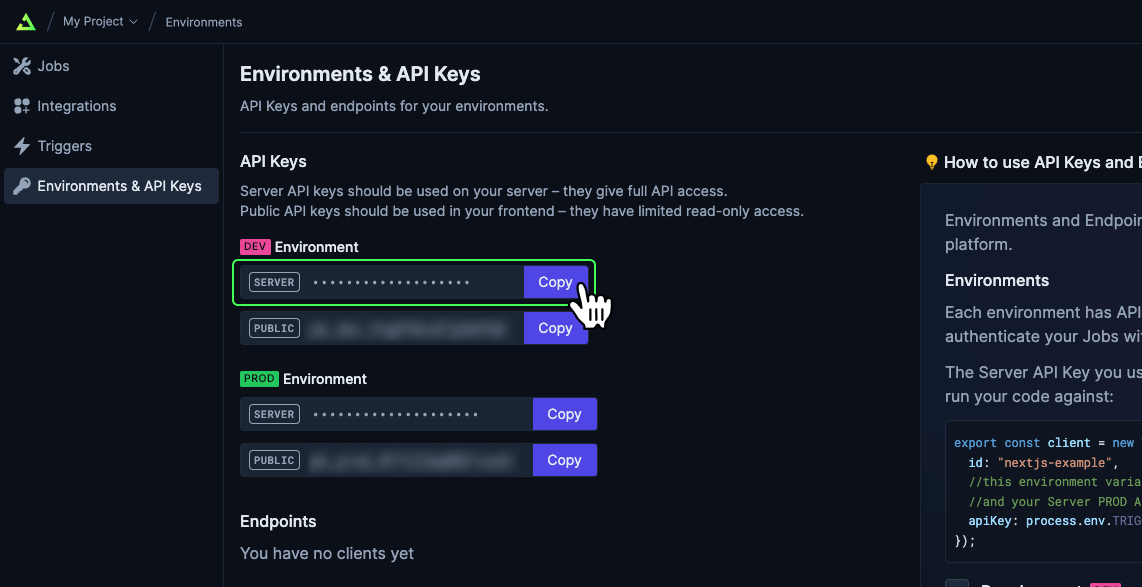
Run the CLI init command
The easiest way to get started it to use the CLI. It will add Trigger.dev to your existing project, setup a route and give you an example file.In a terminal window run:It will ask you a couple of questions
- Are you using the Trigger.dev Cloud or self-hosting?
- Enter your development API key. Enter the key you copied earlier.
Run the CLI dev command
The CLI
dev command allows the Trigger.dev service to send messages to your site. This is required for registering Jobs, triggering them and running tasks. To achieve this it creates a tunnel (using ngrok) so Trigger.dev can send messages to your machine.You should leave the dev command running when you're developing.In a new terminal window or tab run:You can optionally pass the port if you're not running on the default port by adding
--port 3001 to the end.Advanced: Run your Astro server together with the CLI
Advanced: Run your Astro server together with the CLI
You can modify your
package.json to run both the Astro server and the CLI dev command together.- Install the
concurrentlypackage:
- Modify your
package.jsonfile’sdevscript.
package.json
Your first job
The CLI init command created a simple Job for you. There will be a new file If you navigate to your Trigger.dev project you will see this Job in the “Jobs” section:
src/jobs/example.(ts/js).In there is this Job:Triggering the Job
There are two way to trigger this Job.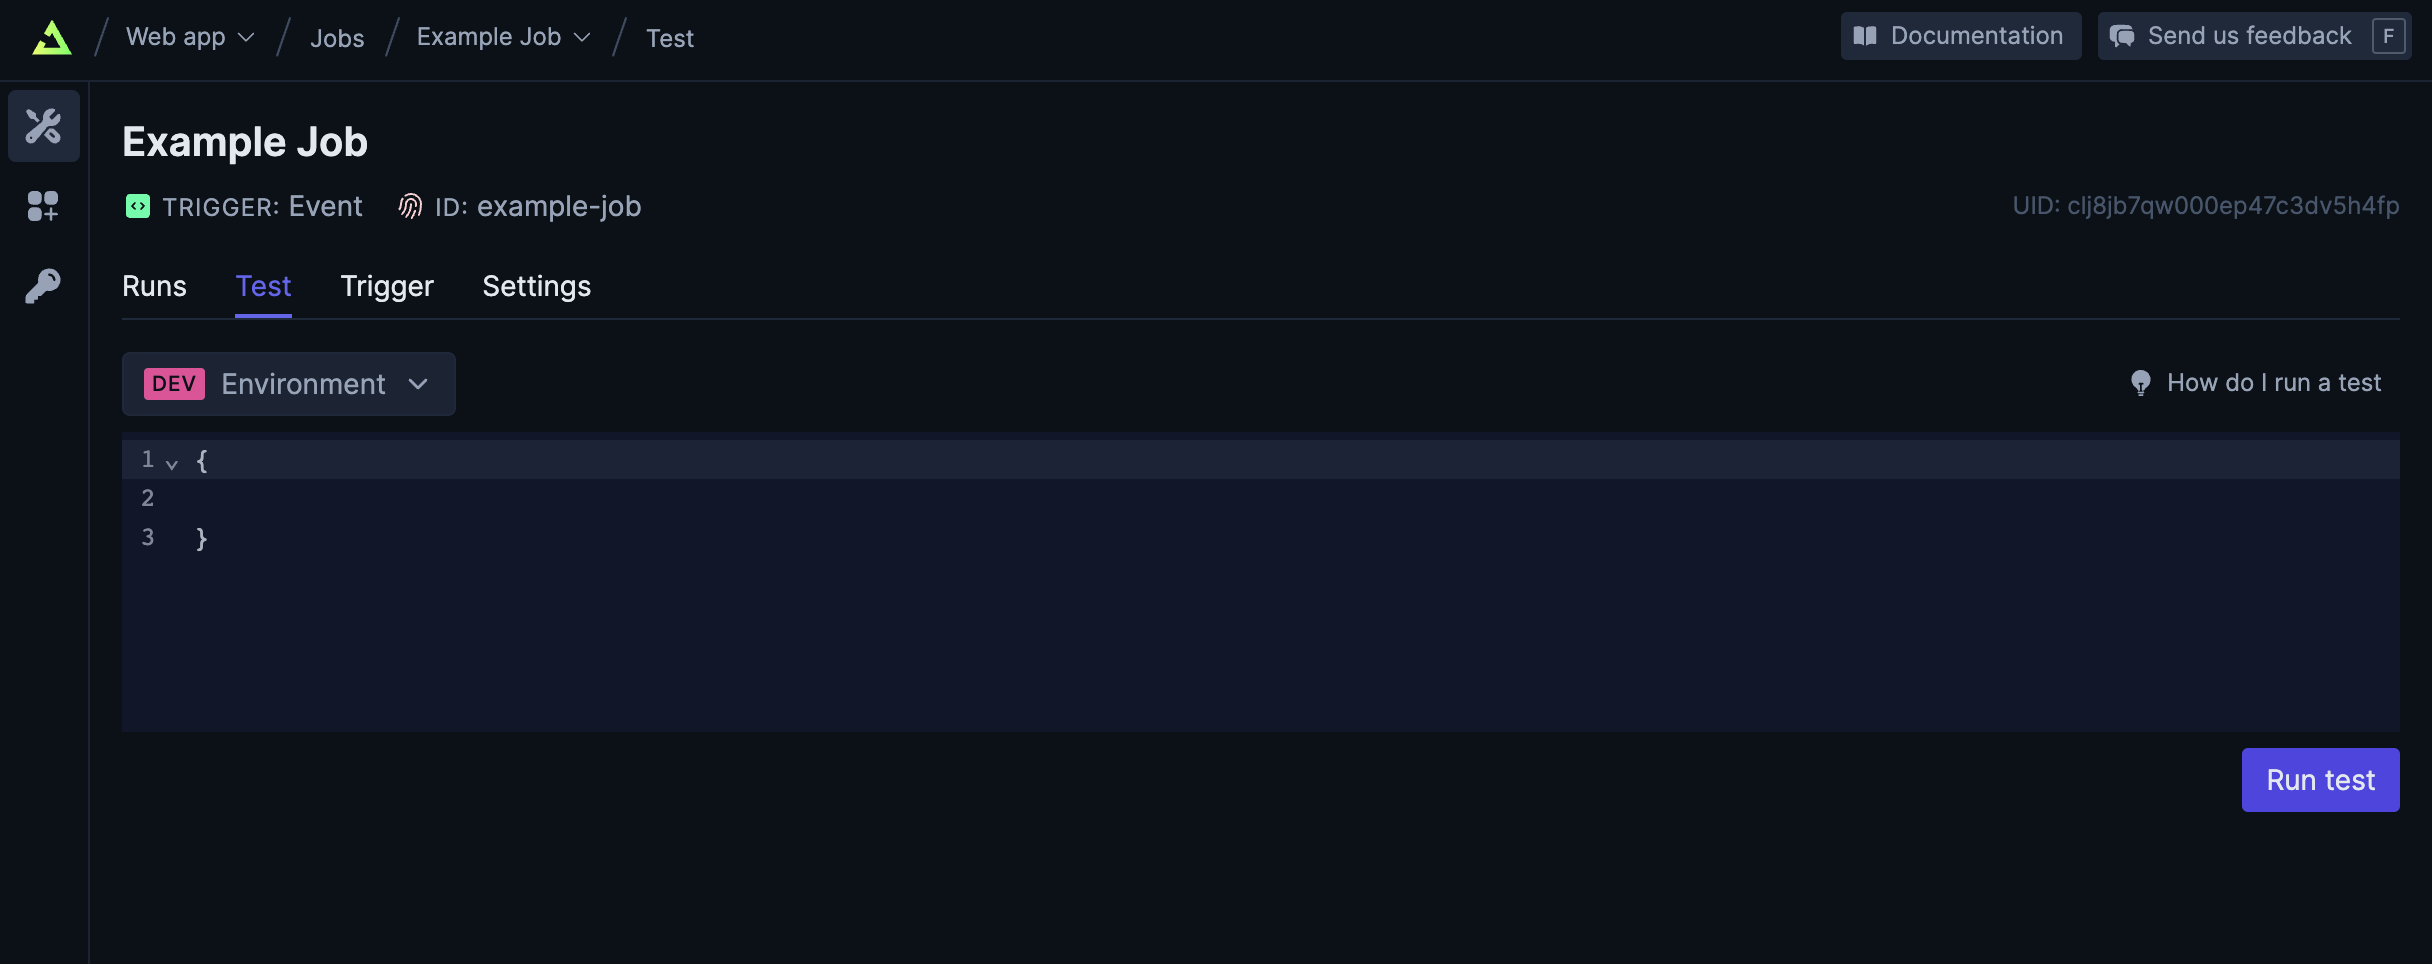 This Job doesn't have a payload schema (meaning it takes an empty object), so you can simple click the "Run test" button.Congratulations, you should get redirected so you can see your first Run!
- Use the "Test" functionality in the dashboard.
- Use the Trigger.dev API (either via our SDK or a web request)
"Testing" from the dashboard
Click into the Job and then open the "Test" tab. You should see this page:This Job doesn't have a payload schema (meaning it takes an empty object), so you can simple click the "Run test" button.Congratulations, you should get redirected so you can see your first Run!What's next?
Write your first Job
A Guide for how to create your first real Job
What is Trigger.dev
Learn more about how Trigger.dev works and how it can help you.
Examples
Find code examples for many popular APIs. These can be copied / modified for use in your own
projects.
Get help
Struggling getting setup or have a question? We're here to help.